
Preparation and Safety Considerations
Before setting foot on a ladder or climbing onto your roof, thorough preparation is essential. Timing your inspection appropriately can make a significant difference in both safety and accuracy. In Madison, Mississippi, summer humidity and intense heat can create hazardous conditions, making early morning or late afternoon the ideal windows for roof inspections. During these cooler periods, surfaces are less slippery from condensation and temperatures are more manageable for extended observation.
Gather the necessary tools before beginning: a sturdy extension ladder that extends at least three feet above the roofline, non-slip footwear with rubber soles, work gloves, a flashlight or headlamp, binoculars for initial ground assessment, a camera or smartphone for documentation, a notebook, and a measuring tape. If you plan to access the roof directly, ensure the ladder is positioned on stable, level ground at the proper angle (the base should be one foot away from the wall for every four feet of height).
Safety cannot be overstated. Never conduct a roof inspection alone; have someone on the ground to steady the ladder and provide assistance if needed. Avoid inspections during wet conditions, high winds, or when storms are forecasted. If your roof pitch is steep, the materials are wet or damaged, or you feel uncomfortable at any point, professional roofing services are the safer choice. Understanding your physical limitations and the condition of your roof is critical before attempting any inspection.
Visual Ground Inspection Techniques
Your roof inspection should always begin from ground level. Using binoculars, systematically scan the entire roof surface, working from one end to the other in a grid pattern to ensure no area is missed. Look for obvious signs of damage: missing, cracked, or curling shingles, displaced flashing around chimneys or vents, and any sagging or uneven areas that might indicate structural issues beneath the surface.
Pay particular attention to debris accumulation in valleys and along roof edges. Recent storms in the Madison area often leave behind branches, leaves, and other material that can trap moisture and accelerate deterioration. Examine the ground around your home’s perimeter for granules from asphalt shingles, which appear as coarse sand and indicate significant wear or hail impact. A small amount of granule loss is normal over time, but heavy accumulation after a storm suggests potential damage requiring closer examination.
Inspect your gutters from the ground as well. Dented gutters, detached sections, or an unusual amount of shingle granules collected inside can signal roof damage above. Check downspouts for proper water flow and look for any staining on exterior walls that might indicate water bypassing the gutter services system entirely. Observe the roofline for straightness; any dips, waves, or irregularities may point to compromised decking or support structures underneath. This ground-level assessment helps you identify problem areas that warrant closer inspection and determines whether climbing onto the roof is necessary and safe.
Climbing and Close-Up Inspection Methods
If your ground inspection revealed areas of concern and conditions are safe, the next step is a close-up assessment. When climbing, always maintain three points of contact with the ladder and step onto the roof carefully, testing the surface stability before transferring your full weight. Move deliberately across the roof, stepping on solid areas near supports rather than in the center of spans where materials may be weakest.
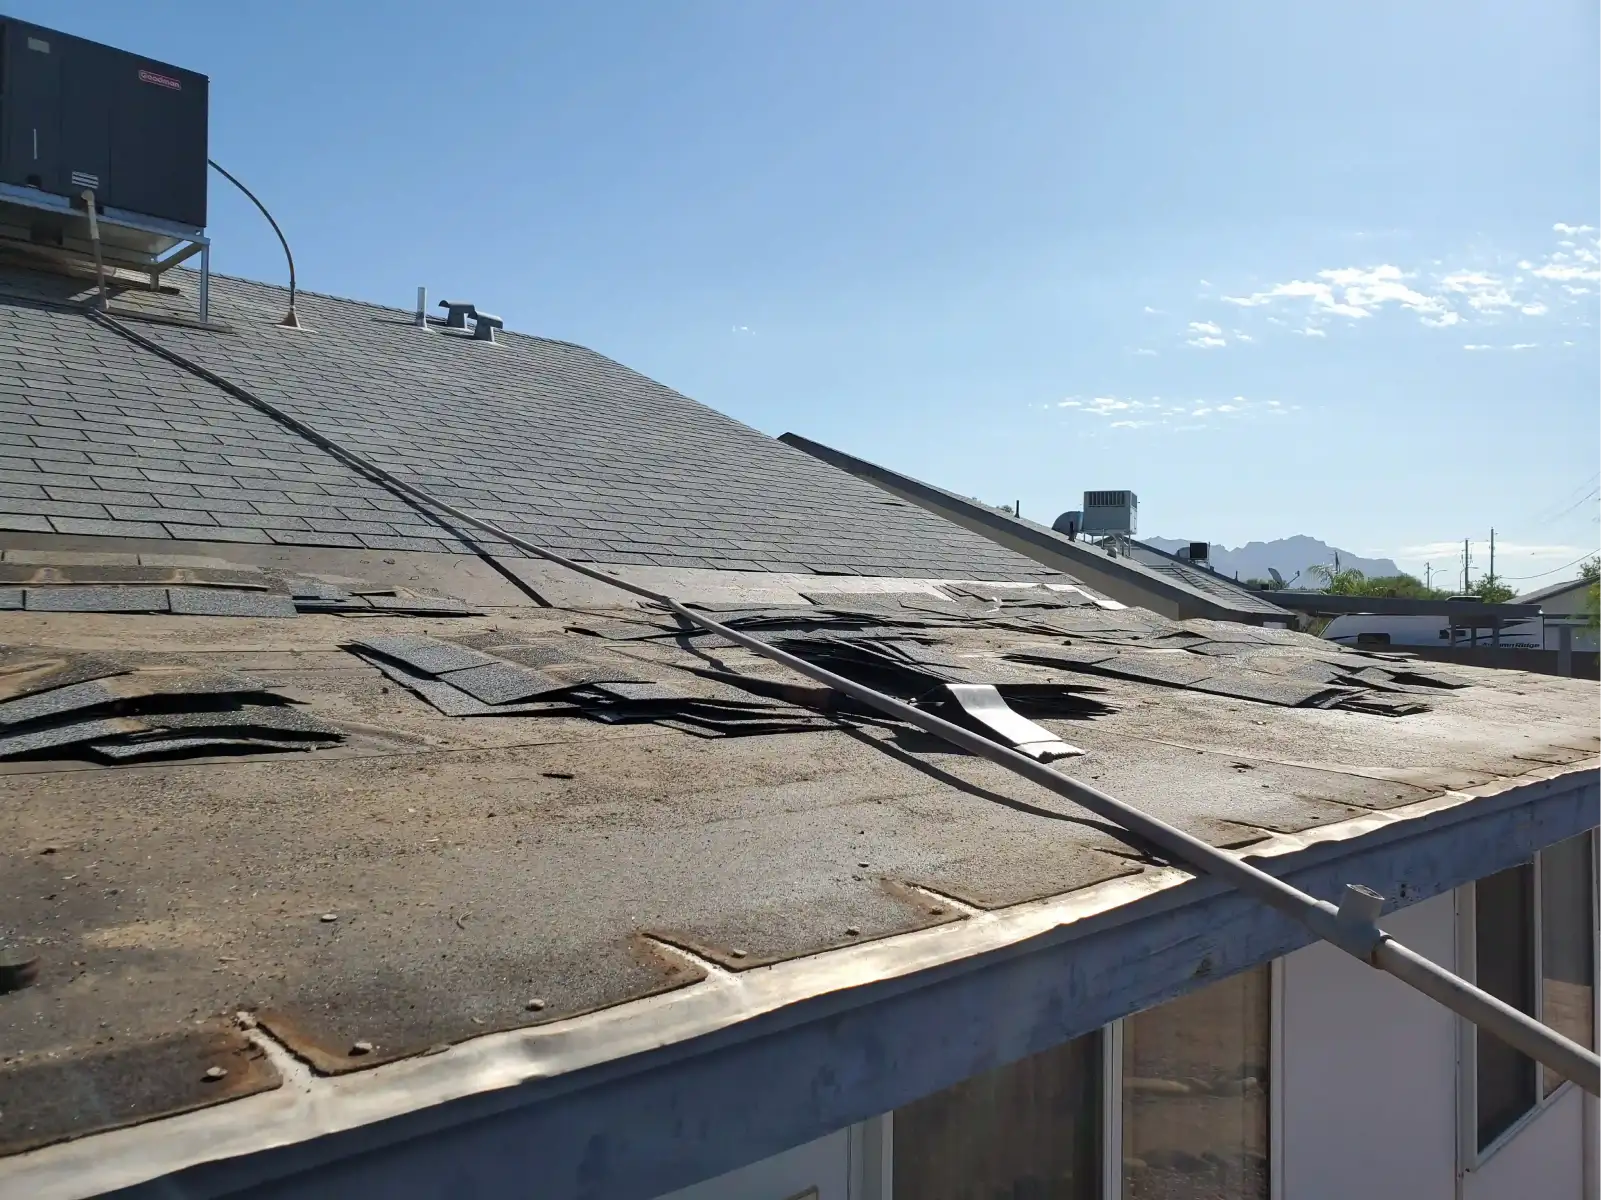
For asphalt shingle roofing, examine individual shingles for cracks, tears, or missing sections. Hail damage typically appears as dark spots where granules have been knocked off, exposing the underlying asphalt, or as dents with a circular pattern. Run your hand gently across shingle surfaces; significant granule loss will feel smooth rather than gritty. Check for lifted or unsealed shingle tabs, which indicate wind damage and create pathways for water infiltration. Inspect the shingle edges along rake and eave lines, as these areas are particularly vulnerable during high winds.
For metal roofing installations, look for dents, scratches through the protective coating, or panels that have shifted or pulled away from fasteners. Check that all screws remain tight and that rubber washers beneath screw heads have not cracked or deteriorated. TPO roofing on low-slope sections requires inspection for punctures, tears, seam separation, and pooling water that remains 48 hours after rainfall. Any standing water indicates drainage issues that accelerate membrane breakdown.
Document every area of concern with clear photographs from multiple angles. If you encounter widespread damage or feel uncertain about the severity, professional roof inspection services provide detailed assessments using specialized equipment and trained expertise that homeowner inspections cannot match.
Checking Flashing, Vents, and Penetrations
Roof penetrations and transitions are the most common sources of leaks following storm damage, yet homeowners frequently overlook these critical areas. Flashing, the metal or composite material that seals joints and transitions, requires careful examination. Inspect flashing around chimneys, skylights, dormers, and where the roof meets vertical walls. Look for rust spots, cracks, gaps, or sections that have lifted or separated from the surface. Storm winds can pry flashing loose even when surrounding roofing materials remain intact.
Vent boots, the rubber or plastic seals around plumbing vents and exhaust pipes, deteriorate over time and can crack or tear during severe weather. Examine each boot carefully for splits, hardening, or separation from the pipe. Even small cracks allow water to enter the attic and walls, causing damage far exceeding the cost of timely replacement. Check that all vent caps remain securely fastened and undamaged.
Pay special attention to roof valleys, where two planes meet and channel the highest volume of water. Valley flashing must remain firmly attached with no gaps or corrosion. Inspect step flashing along walls and dormers, ensuring each piece overlaps correctly and remains sealed. Examine the drip edge at roof perimeters; this component directs water away from fascia boards and into gutters. Damaged or missing drip edge allows water to wick back under roofing materials.
Attic venting systems, including ridge vents and soffit vents, can sustain damage that compromises roof ventilation and temperature regulation. Blocked or damaged attic venting accelerates shingle aging and can void manufacturer warranties. If you identify compromised flashing, deteriorated boots, or ventilation damage, these issues typically require professional roof repair to ensure proper weatherproofing and prevent future complications.
Documentation and Next Steps
Thorough documentation transforms your inspection from a general observation into actionable evidence for insurance claims and repair decisions. Photograph every area of damage from multiple angles, including wide shots that show the damage location relative to the overall roof and close-ups that clearly display the specific issue. Include reference points in photos such as roof features, chimneys, or vents to help contractors and adjusters locate problem areas. Date-stamp your images and organize them logically by roof section or damage type.
Create detailed written notes describing each damaged area: its location, the type and extent of damage, approximate dimensions, and any immediate concerns such as active leaks or structural instability. Sketch a simple roof diagram marking damage locations if helpful. Retain copies of all documentation in both digital and physical formats for insurance submissions and contractor consultations.
After completing your inspection, evaluate your findings honestly. Minor issues such as a few missing shingles or small amounts of granule loss may not require immediate professional intervention, though monitoring these areas for progression is wise. However, extensive damage, multiple problem areas, compromised flashing, evidence of water infiltration, or any structural concerns warrant professional assessment without delay. Insurance claims for storm damage often have strict filing deadlines, making prompt action essential.
Even if damage appears minor, consider scheduling a professional roof inspection for verification. Trained specialists identify subtle damage that homeowners miss and provide detailed reports valuable for insurance documentation. If your inspection revealed significant issues, professional roof replacement services or targeted roof repair can restore your home’s protection and prevent secondary damage from water infiltration.
Licensed roofing contractors bring specialized knowledge of local building codes, manufacturer specifications, and proper installation techniques that ensure repairs last. When storm damage affects your roof, contacting qualified professionals for a thorough evaluation and repair recommendations protects your investment and provides confidence that your home is properly secured against future weather events.